Taking time to cook a meal is an exciting experiment for some, and a challenging ordeal for many. Just looking at a recipe might cause you to get the jitters and throw pots and pans in the air.
Here are two recipes that will become staples in your kitchen, even if you have a tiny space in a dorm that you have to share with messy, hungover roommates.
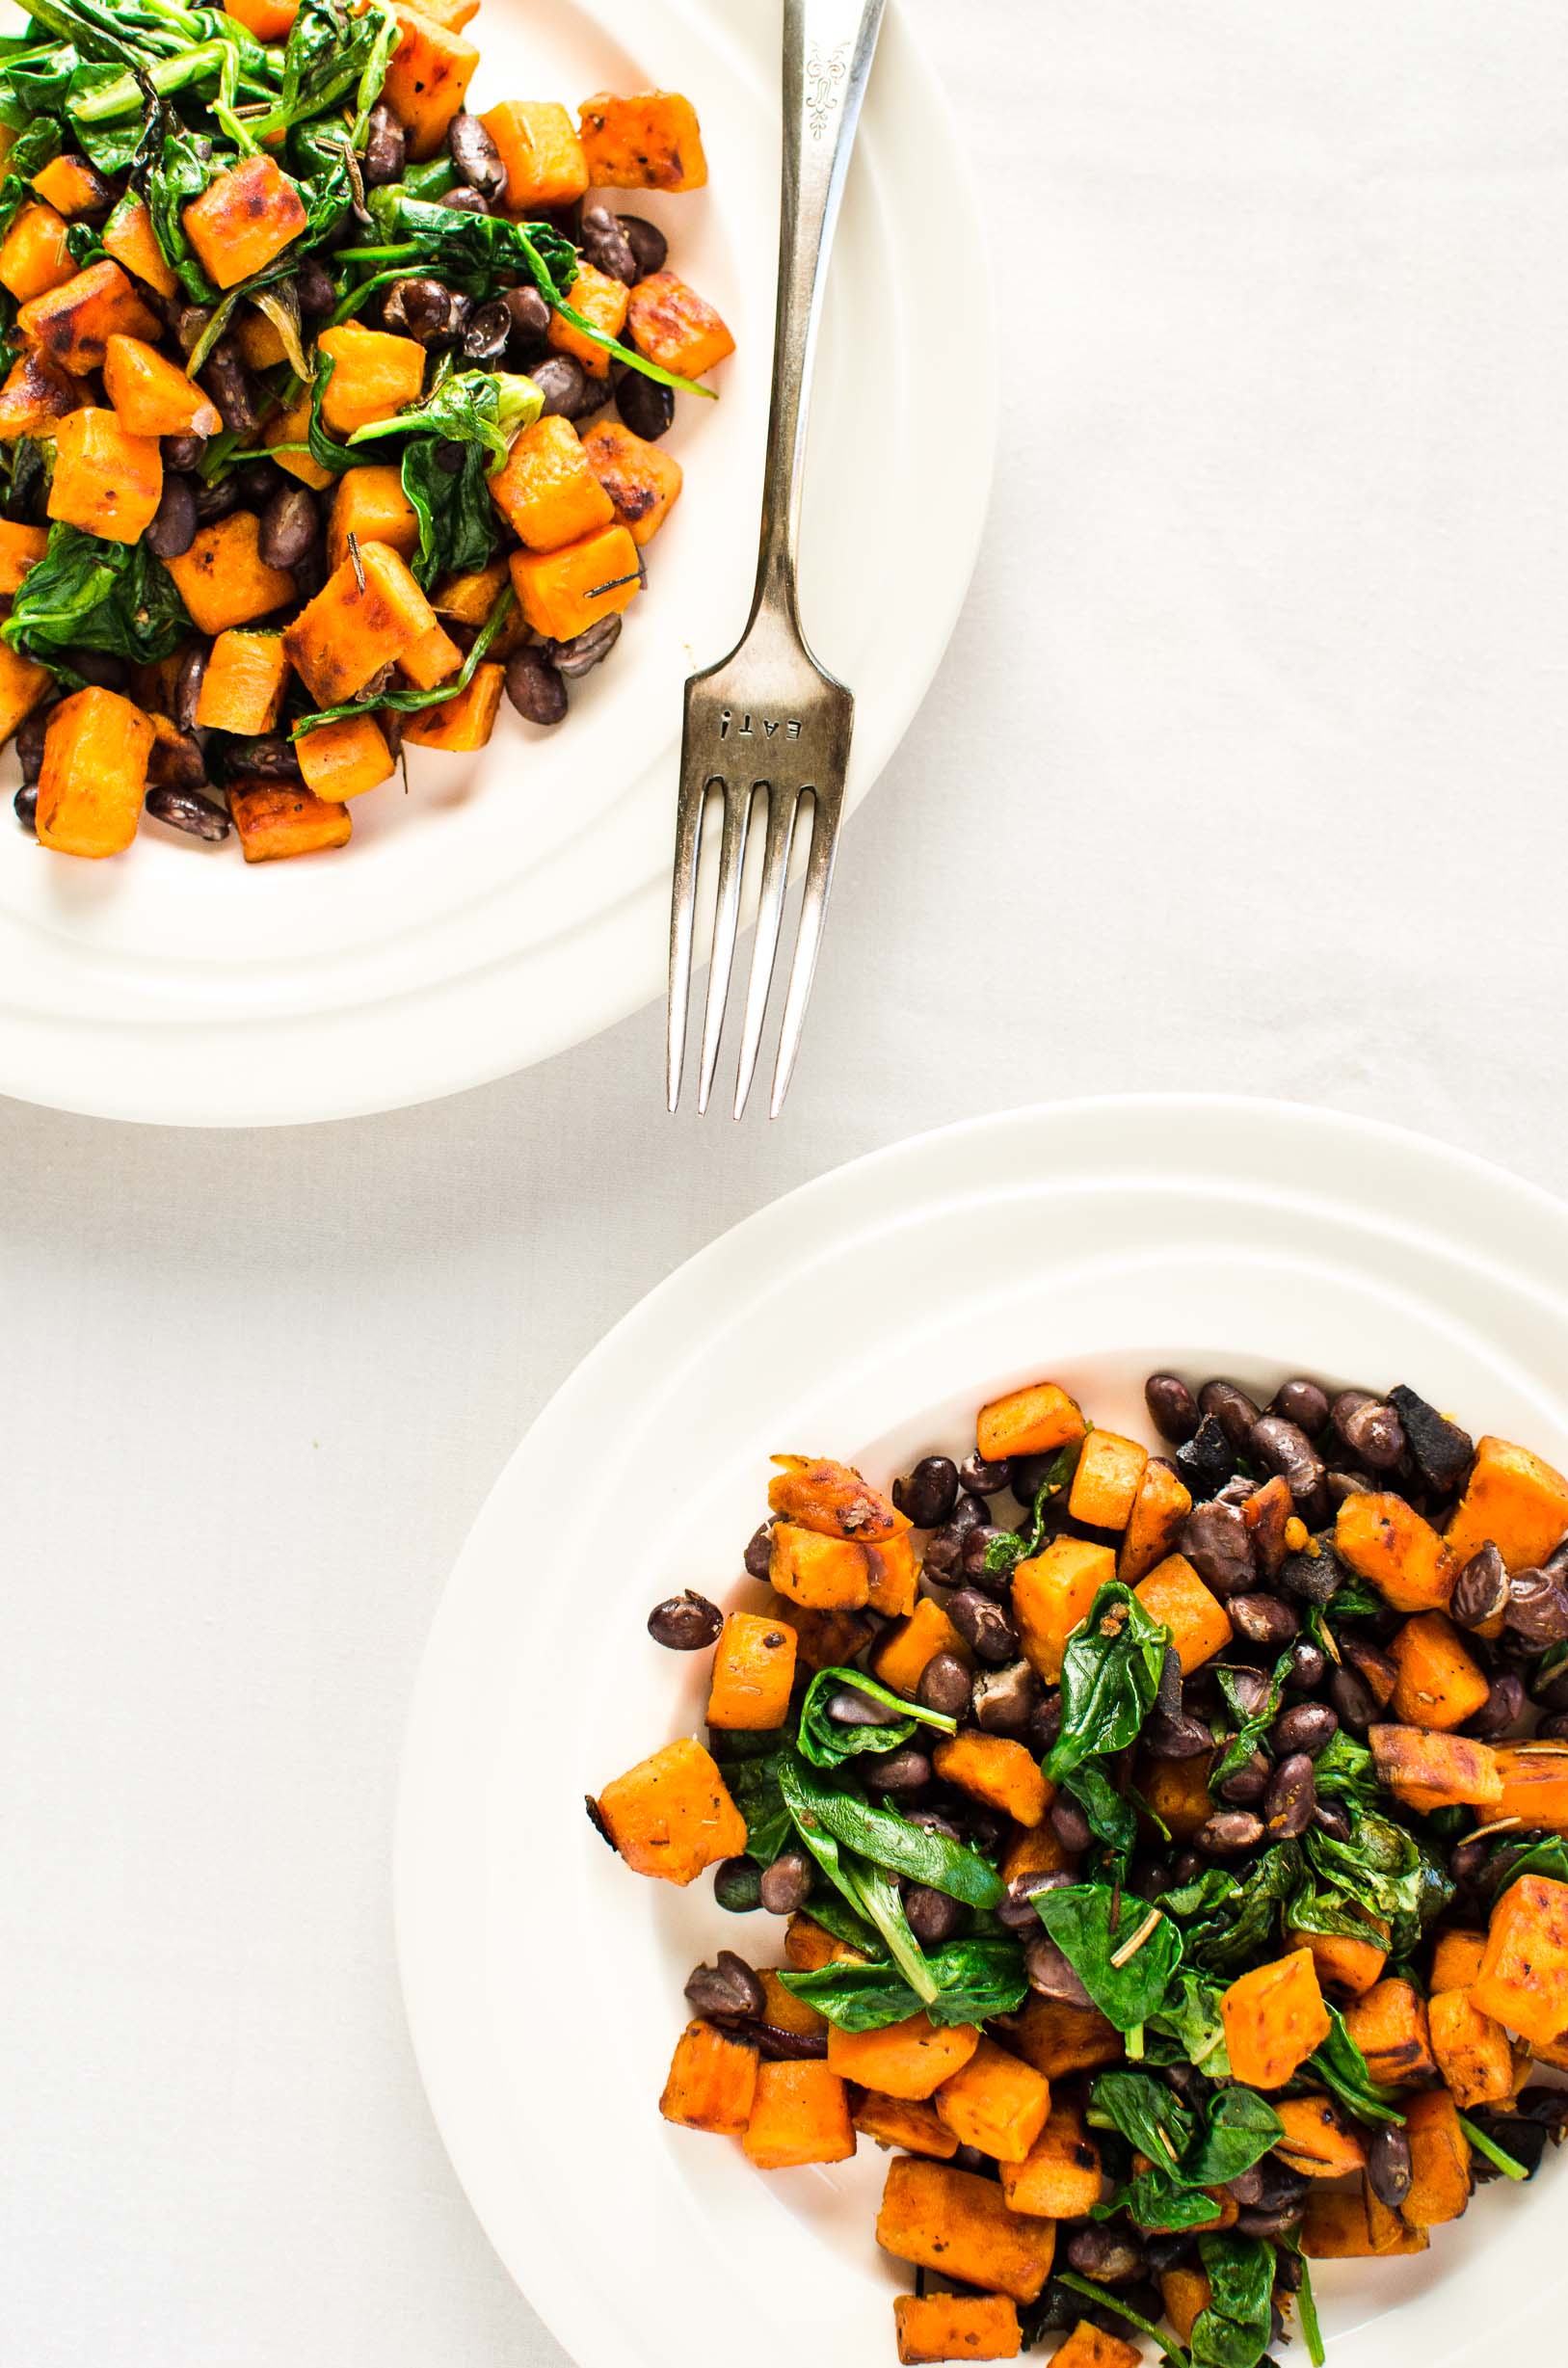
The sweet potato breakfast hash does have “breakfast” in the title, but you’ll enjoy it for any meal of the day. Beans are easy on the wallet but the hash also tastes fantastic with a couple of eggs cracked in the skillet at the end, or some tempeh if you’re feeling adventurous. You can find tempeh at most Superstore locations, Organza, and Vita Health.
You really can’t go wrong with a meal that’s vegan, gluten-free, healthy, easy, and also reheatable.
Sweet Potato Breakfast Hash
Prep time: 5 min
Cook time: 25 min
Yield: serves 2-3
Ingredients:
- 1 medium-sized sweet potato
- 2 Tablespoons + 1 teaspoon vegetable oil, plus more for frying
- 2 teaspoons rosemary
- Salt + pepper, to taste
- 1 cup of cooked black beans*
- ¼ teaspoon cayenne pepper (optional)
- 4 oz leafy greens (spinach, arugula, etc.)
Instructions
- Preheat a non-stick skillet to medium and add a thin layer of oil.
- Peel and rinse the sweet potato and pat to dry. Slice into tiny cubes about ½ inch in size (smaller cubes will cook faster). Add to a mixing bowl with 2 Tablespoons of the oil and stir to coat. Add the rosemary, salt, and pepper and stir to coat.
- Add the sweet potato to the skillet, stirring occasionally while you prepare the rest of the ingredients.
- In a separate mixing bowl, add the beans and 1 teaspoon of the oil. Add the optional cayenne pepper and stir to coat.
- Rinse the greens in a strainer but do not dry. Leftover water droplets on the greens help them steam in the skillet.
- Continue stirring the sweet potato until it’s soft in the centre when tested with a fork and crispy around the edges (about 20 minutes). Add the beans and fry for about 30 seconds. Add the greens (half at a time if you have a small pan) and cook until just wilted. Serve immediately, or store in the fridge in an airtight container for up to a week.
*If using canned black beans, you’ll have some left over after rinsing and draining. Store leftover beans in a glass container in the fridge.

Photo: Katy MacKinnon
Christmas may be over, but that doesn’t mean you have to wave goodbye to your chocolate addiction. If it were up to me, fudge season would last all year. And, since I’m the author of this piece, so be it. We’re going to make fudge in January.
You don’t need an oven for this one, and I swear you can’t mess it up. All you have to do is throw four ingredients into a pot, melt and stir, spread it in a pan, and refrigerate. It can’t get any easier than that.
You might notice there’s no butter. Coconut oil is the secret to this soft, truffle-like fudge. My taste testers were blown away when they were told the ingredients, so if you’re worried about missing the butter, don’t be.
Surprisingly, chocolate does a great job of masking all the coconut flavour and shines through in all its chocolate beauty. Even if coconut is not for you, you definitely won’t notice it in this treat.
Easy Vegan Fudge
Prep time: 5 min
Cook time: 10 min
Total time: 15 min
Yield: one 6×6 pan
Ingredients
- ⅔ cup full-fat coconut milk (from a can, like Thai Kitchen brand, for example)
- 2 Tablespoons coconut oil
- 1 teaspoon vanilla extract
- 12 oz semisweet choc chips (vegan brand if necessary, like Enjoy Life)
Instructions
- Line a small baking dish with parchment paper. I used a 6×6 baking dish, but you can use an 8×8. The fudge will be slightly thinner.
- Add the coconut milk to a medium-sized saucepan and bring to a simmer, stirring often to avoid scorching. Simmer for 2-3 minutes.
- Add the coconut oil to the saucepan and stir until it melts. Add the chocolate chips and stir until they begin melting. Use a whisk to combine the milk and chocolate chips; continue whisking until the mixture is thick and well-combined.
- Remove from heat and stir in vanilla. Pour into the baking pan and refrigerate until firm (overnight) or freeze for about half an hour. Store in the fridge for up to a week.